How to Fit a Garment
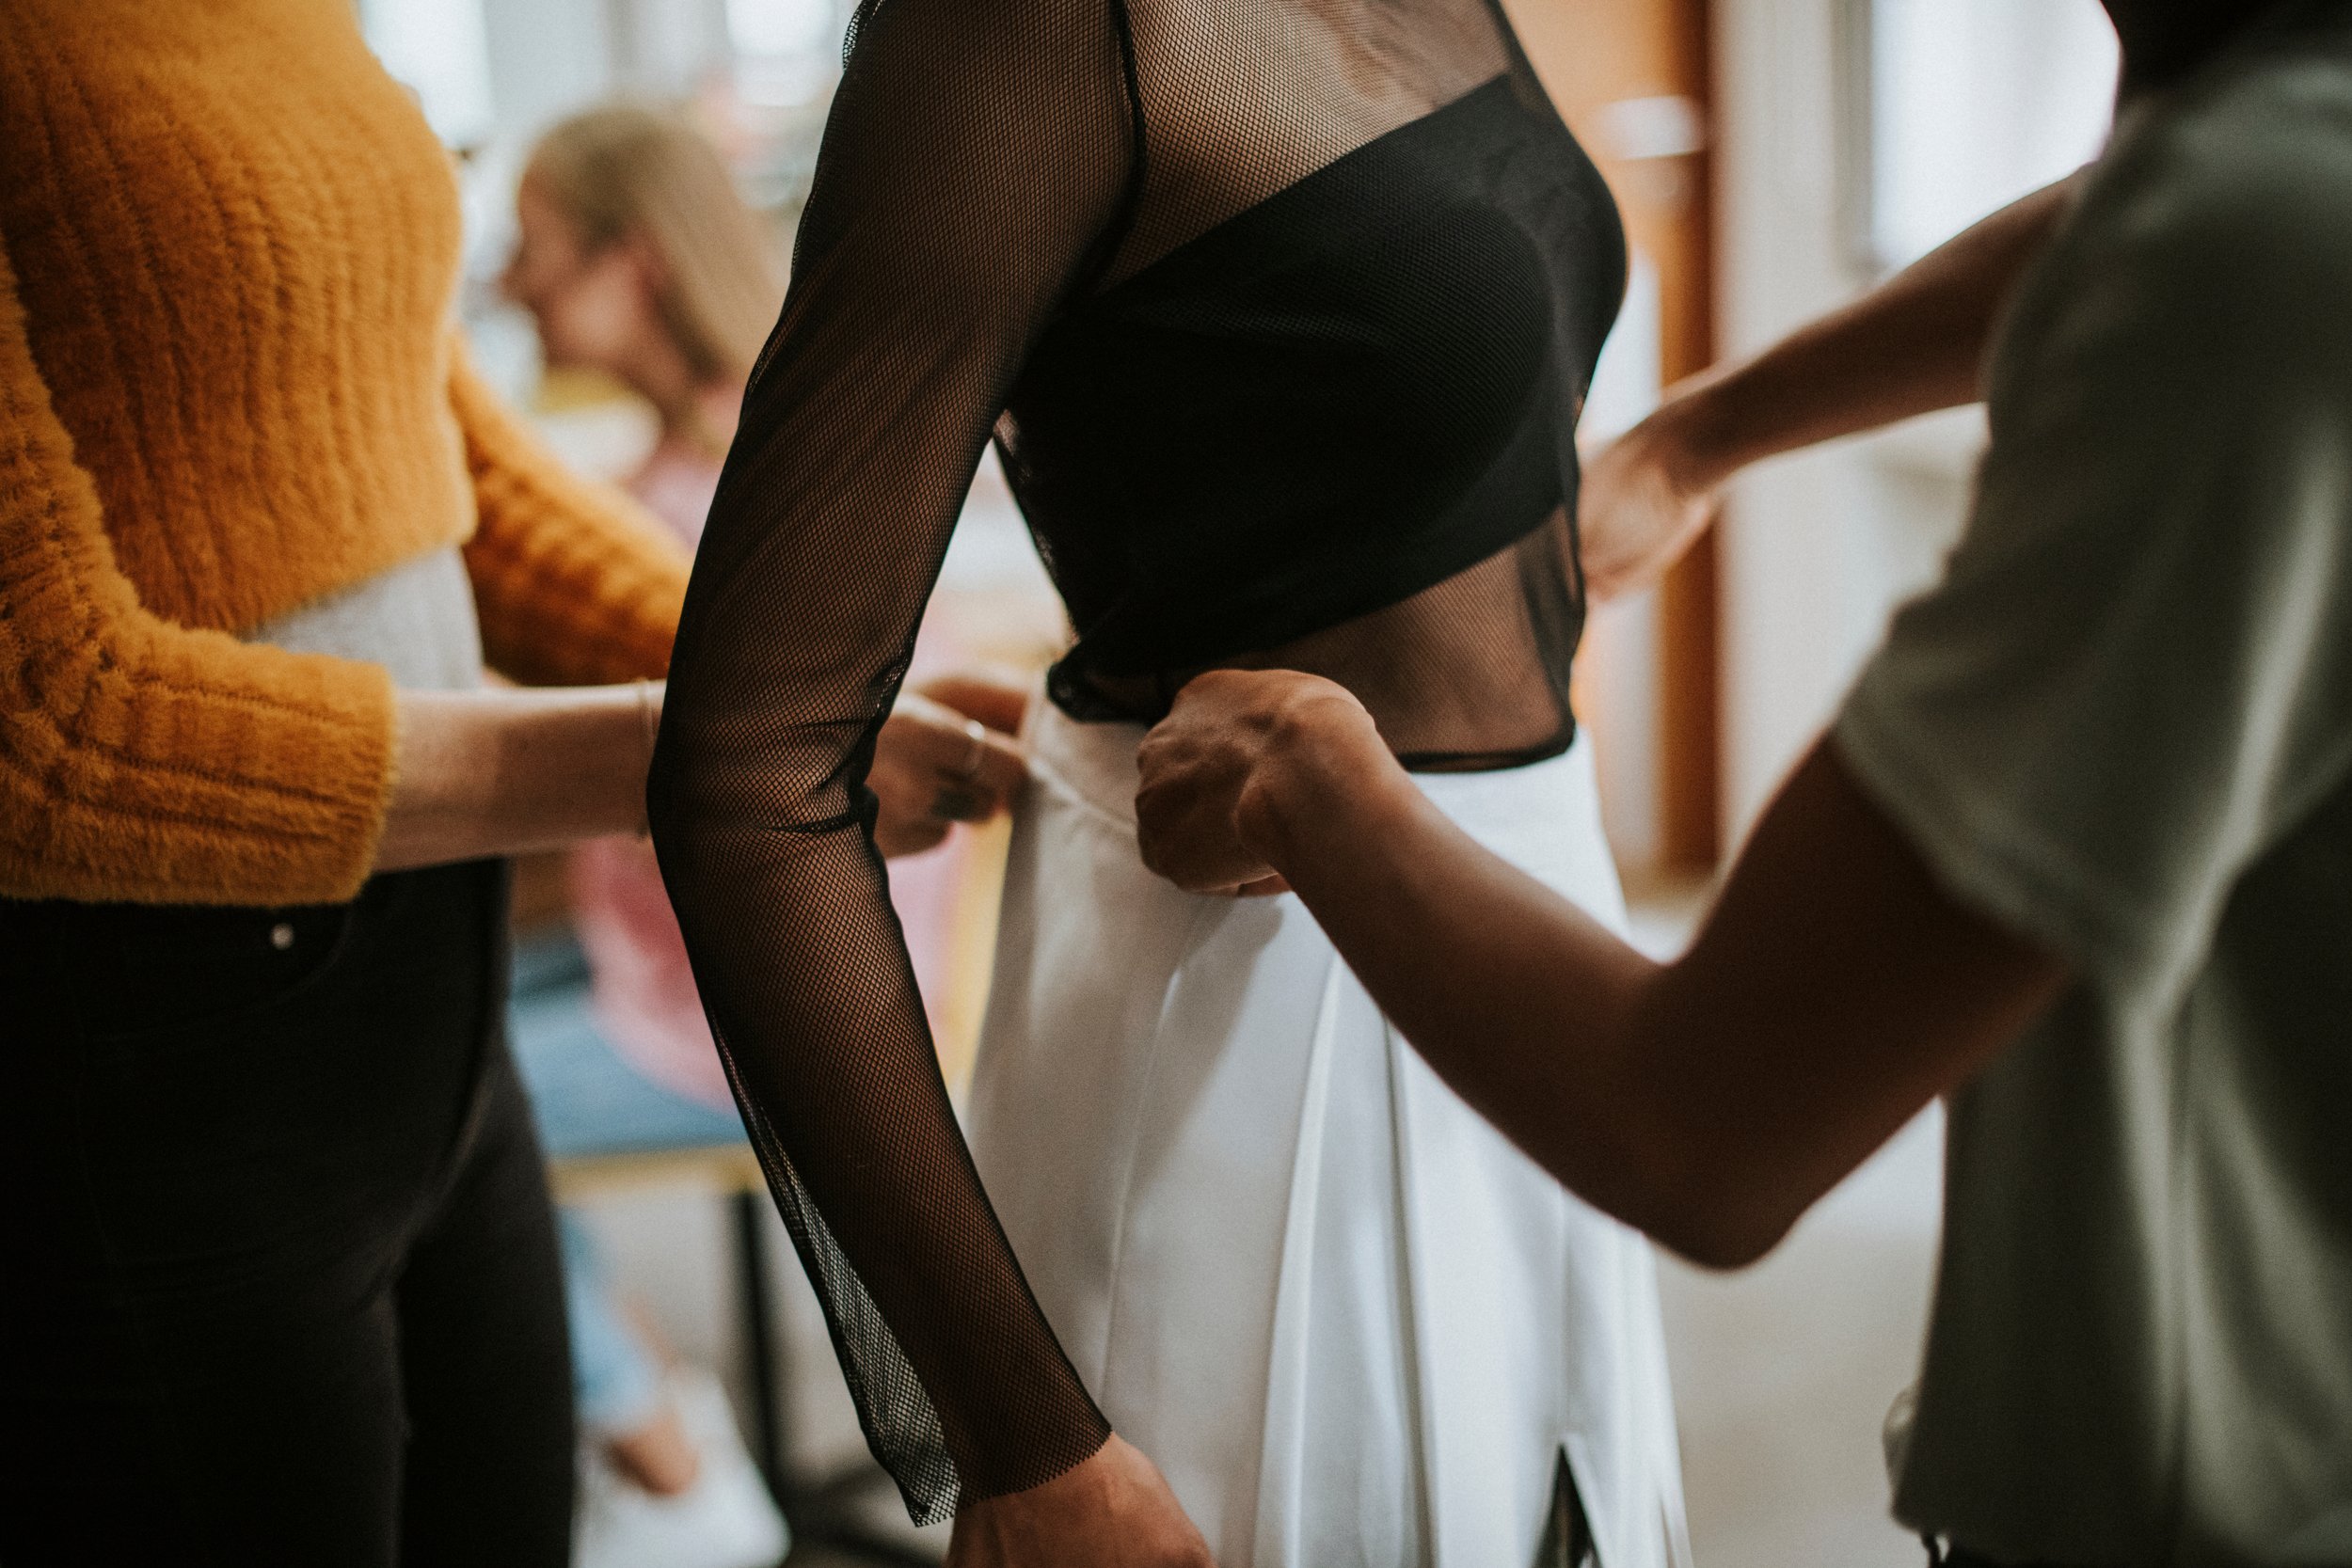
Fitting is crucial for your brand. It is not only where you get to see your idea come to life, but it is also the arena in which you critique, analyze and consider all the possibilities. The biggest mistake I see is a designer getting their sample and just being so amazed and thrilled that it is finally a reality that they fail to see the flaws and it costs them later.
Before we go any further- it is your job as a designer to question, scrutinize and challenge the fit, proportions and the overall look of your product. As your pattern maker I can tell you what I see to improve the fit, but this is where your point of view comes into play.
When you work remotely with a pattern maker, or perhaps even fit a garment without your pattern maker present, it’s up to you to communicate the changes that need to happen. Getting ready to explain your changes to a pattern maker can feel overwhelming, but for some, fitting a garment can feel overwhelming in its own right.
I’ve been through so many fittings and have seen it all. I’ve fit with very famous designers who are household names with 20 people in the room like it’s a sporting event. I have also fit with very talented designers in the sense that they are not famous, but their point of view carried a company or a brand. I’ve also worked with many new and uncertain designers who don’t know where to start and feel completely trapped when a room full of people are awaiting their decisions. However, my approach is always the same and with time you will come up with your own procedures.
What you need
A camera
Marking tools like chalk or pens
Safety pins (never ever use straight pins!, they are a safety liability for everyone)
Responsibilities
Designers are responsible for the overall look of the garment. As a pattern maker, I have standard questions that I ask to confirm key decisions that only designers can make, such as neck shape, garment length, and proportions.
Pattern makers are responsible for collecting the information they need to work with and are often the ones taking notes and asking questions to the designer. Pattern makers are also responsible for solving any fit issues.
Models: Models are responsible for conveying how they feel in a garment, how well they move and serve as a live mannequin for garment try on. I do ask models what they think and how they feel in what they are wearing. A good fit model can tell you what proportions would make them feel better. However, the overall look is still the discretion of the designer.
Where to start
Start by taking photos of the model (head/face not necessary) agains a solid, well lit background. Take front, side, back, any closeups of issues that you see right away.
You may see fit issues that bother you but let’s not get into that just yet. The first points of discussion should be- do you like the proportions? Do you want it longer, shorter, tighter looser, etc. Sort out what it should be first and foremost.
These changes are also the easiest to communicate to your pattern maker, using bullet-pointed notes, like “raise the waist seam 1/2” at the front, but back is ok,” or “Reduce the inseam 2” and make the leg opening 2” wider overall.”
How to document what you are uncertain about
When it comes to fit issues that you do not have an answer for, don’t worry about solving them during a fitting. This is a major time suck. Instead, take photos from different angles. Don’t make it super close up where there is no context. Also, feel free to put a pin or marks in the area where the issue is.
For instance, if you have a pair of jeans you are fitting and there is a lot of extra fabric at the back leg, take straight-on photos of what it looks like and then use your safety pins to pin out the offending fullness. Let your pattern maker sort it out.
If you are not confident with giving your pattern maker numbers, use the fitting as your pportunity to shape the garment exactly how you want it to look with safety pins. Send the garment to your pattern maker and from here the mysteries can be unraveled. You can also cut the samples and add patches of muslin along the way if it’s too tight in areas. Pants are notoriously hard to fit, so I highly recommend using this method. Samples are not meant to be Christian Dior atelier level beauty. Hack and whack as needed to get the look you want. Samples are disposable. As much as we do our best to reduce waste, if you can cut one apart so the next one is pristine and your production fits amazingly so your customers will love it enough to keep it forever, then it is worth the chop. We are sacrificing one for many.
How to communicate changes to your pattern maker
Once the fitting is complete, get your photos together and ready to share. Even if you think the garment looks great, I may see it differently and have other things I want to resolve. For example, I had a client tell me that their yoga leggings looked amazing and we were ready to go straight to production. They sent me the photos and the model looked like a kielbasa sausage with a definitive camel toe. No bueno. I was fixing that and would take no argument. Things did end up for the best then.
Put together an easy to read list of changes that you need. No one needs a story or a novel to sort though. Put yourself in your pattern makers shoes as to how you would like to get the information. Bullet points or numbered lists are ideal so everything that needs to be addressed is accounted for and can be gone over one by one. If you have pinned samples that need to be addressed you can either mail the sample to your patternmaker or mark where the pins are, take note of the fullness and send photos.
How long should a fitting be?
This really depends on how you like to work, how the garment is going and model availability. Working as a tech designer for a large retail brand with fairly straightforward styles, we were allotted about 5-7 minutes of fit time per garment. This is perfectly acceptable if you know what the product should be. However, sometimes you get problem styles that require a bit more time and analysis. But that’s not to say that it is acceptable to take 1 hour to fit a garment and mold it to a body. A fitting is a review, not a session where you get to drape on a live model.
Things to avoid
Don’t get too caught up in something you can’t figure out. You have the photos so you can always go back and review and come up with the right solution. It’s totally fine to say this during a fitting. Everyone will respect you more for not wasting time.
Make the decision on who needs to be present. This is not something we are selling tickets to. Too many voices can make it confusing.
A fit model is used to tell you how they feel and see how a garment looks on a body. They are not the ones deciding how something should look. This is the job of the designer.
Just know that everyone starts somewhere
Getting your groove for fittings can take a a little while. But confidence will come with time and experience. You’ll also get a sharper eye for for how you want things to be with time and practice.


